Travis Patenaude, Pet Photographer of the Year, has figured out the ultimate recipe for his portraits of the hunting dogs of Spain and how to use lighting to really bring out the best in the animals he photographs. Here he shares his 7 tips on how to make your pet photography really stands out.
1. Pet Photography - Make them comfortable
If the dog is in a new setting, such as a studio or new apartment, it’s important to make sure that the dog is comfortable with the surrounding. Do not rush this moment, so make sure you plan for it. It might take up to 30-45 minutes.
2. Use the flash as a positive trigger for pet photography
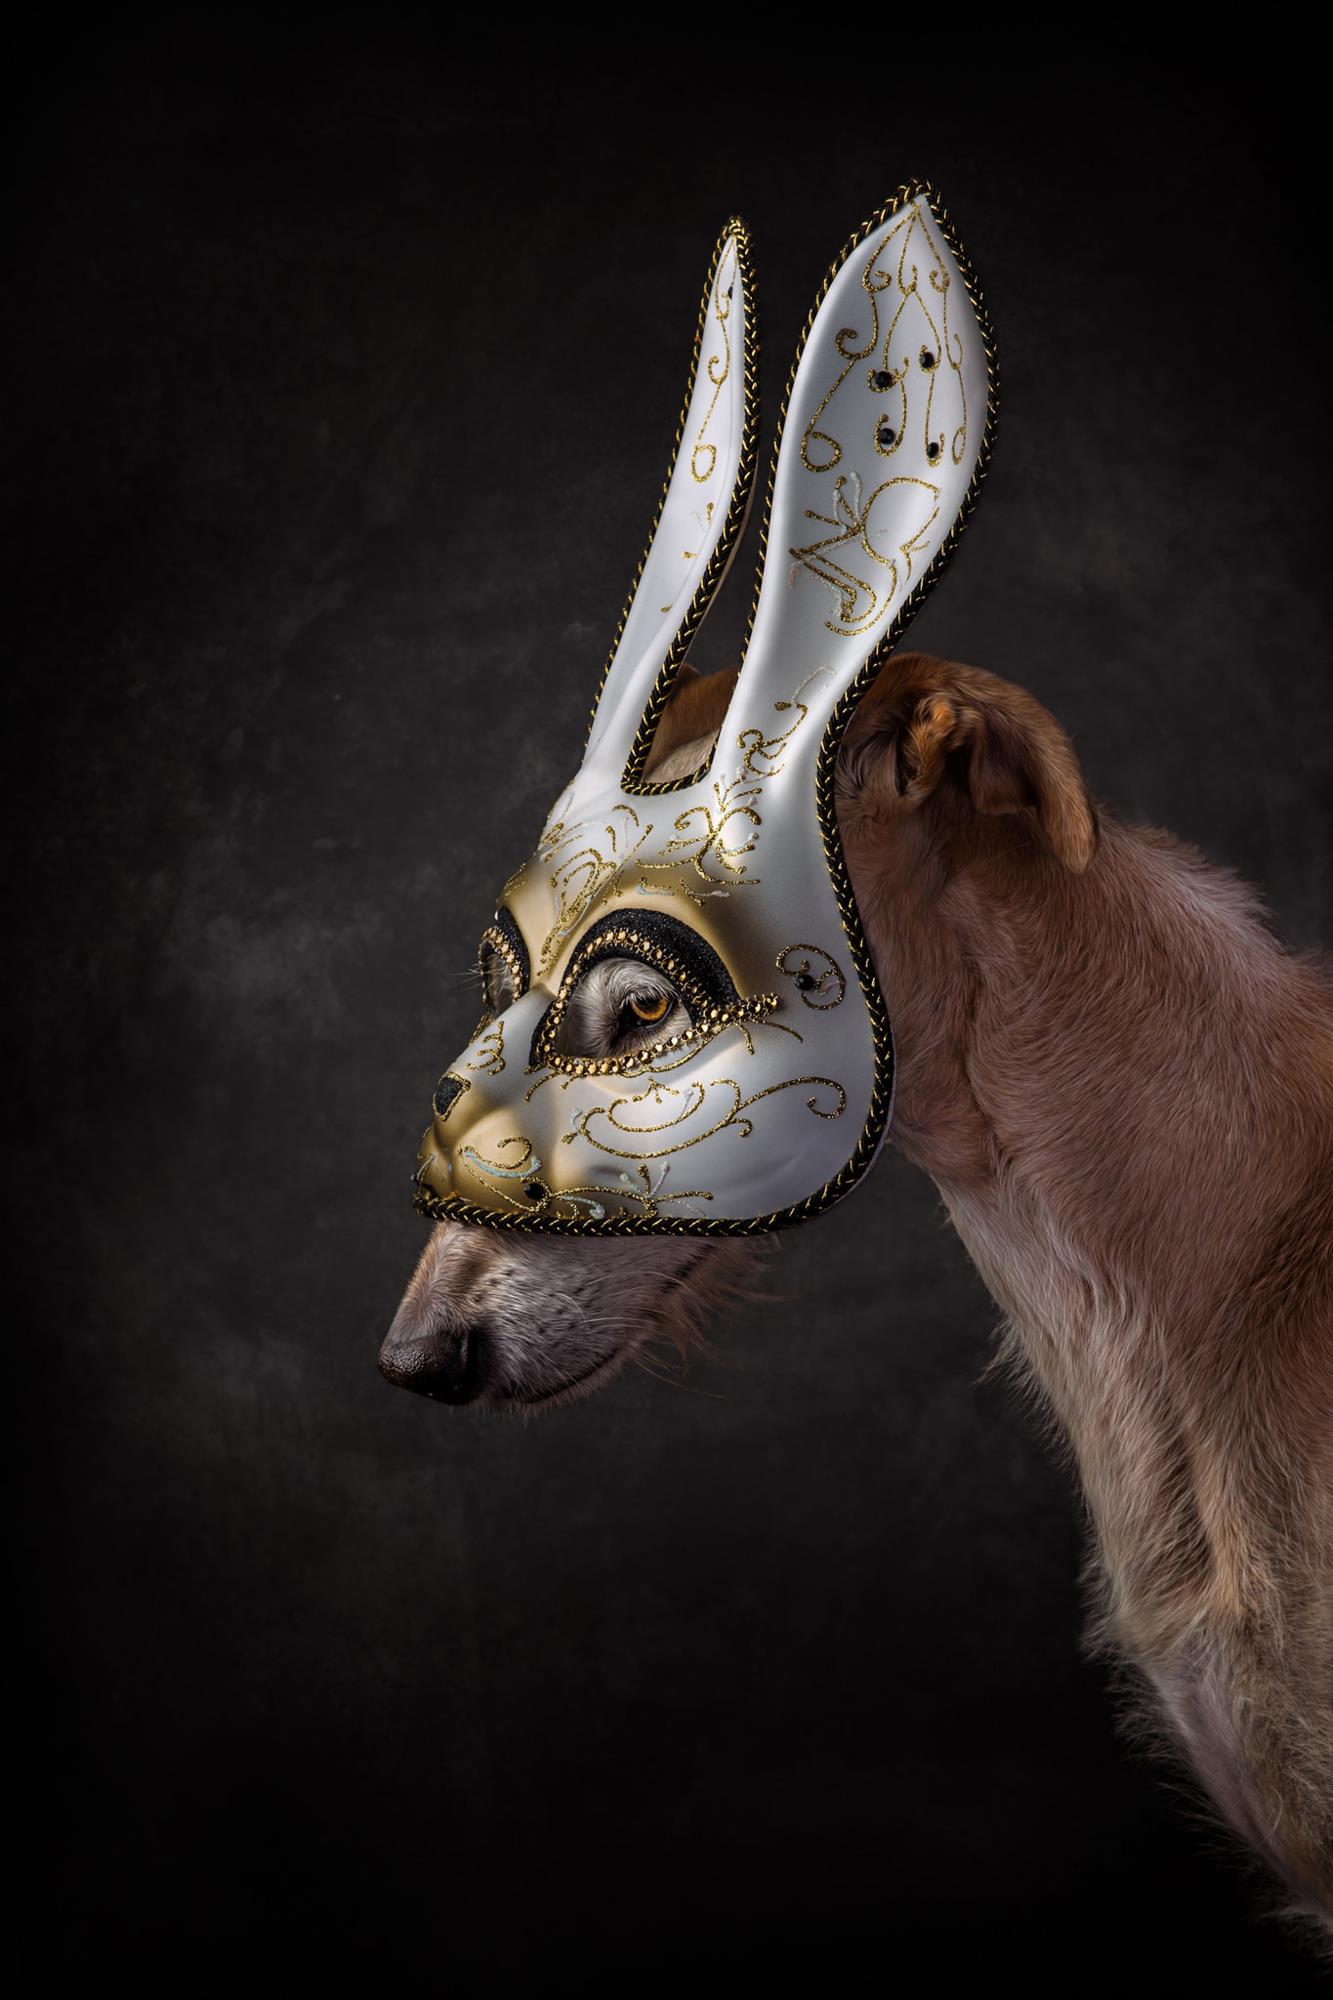
When the dog is comfortable with the setting, try to add the flash to the mix. For this pet photography shoot, I used the Profoto B10. A special trick I have is to give the dog a treat every time you trigger the flash. The dog will then associate the flash with treats!
3. Use different sounds for attention
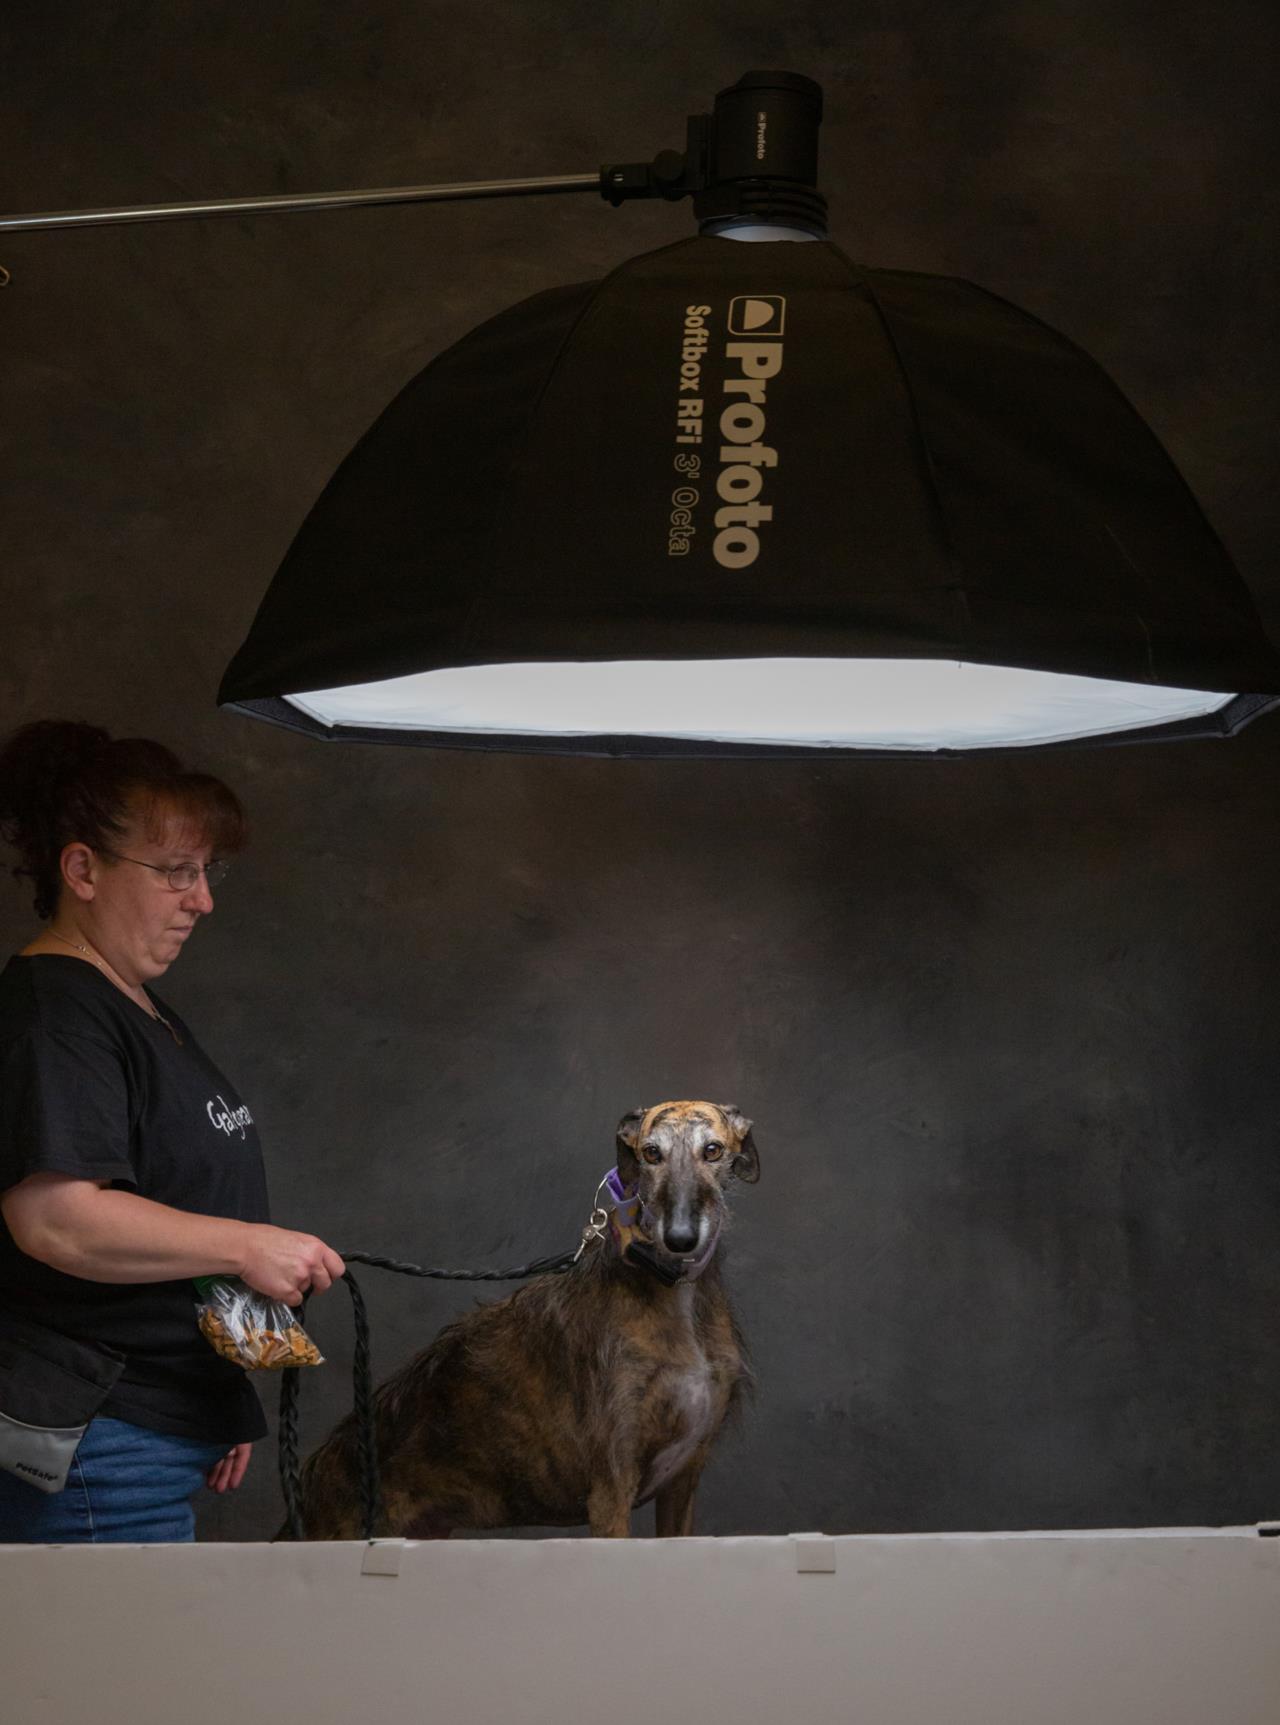
Use different noises or sounds to get the dog's attention. This could be a whistle with your mouth, a mouse call, or turkey call. It is important to not overuse the noises. It just takes a quick noise to get their attention. Also, the only person that should be making the noise is the photographer. If too many people are trying to get the dog's attention, it will confuse and also stress the dog.
4. Keep track of the body language
It’s important to watch the dog's body language to know when they are becoming stressed and when they have lost interest. If the dog is too stressed for any photos, it is best to reschedule and try again with more positive reinforcement.
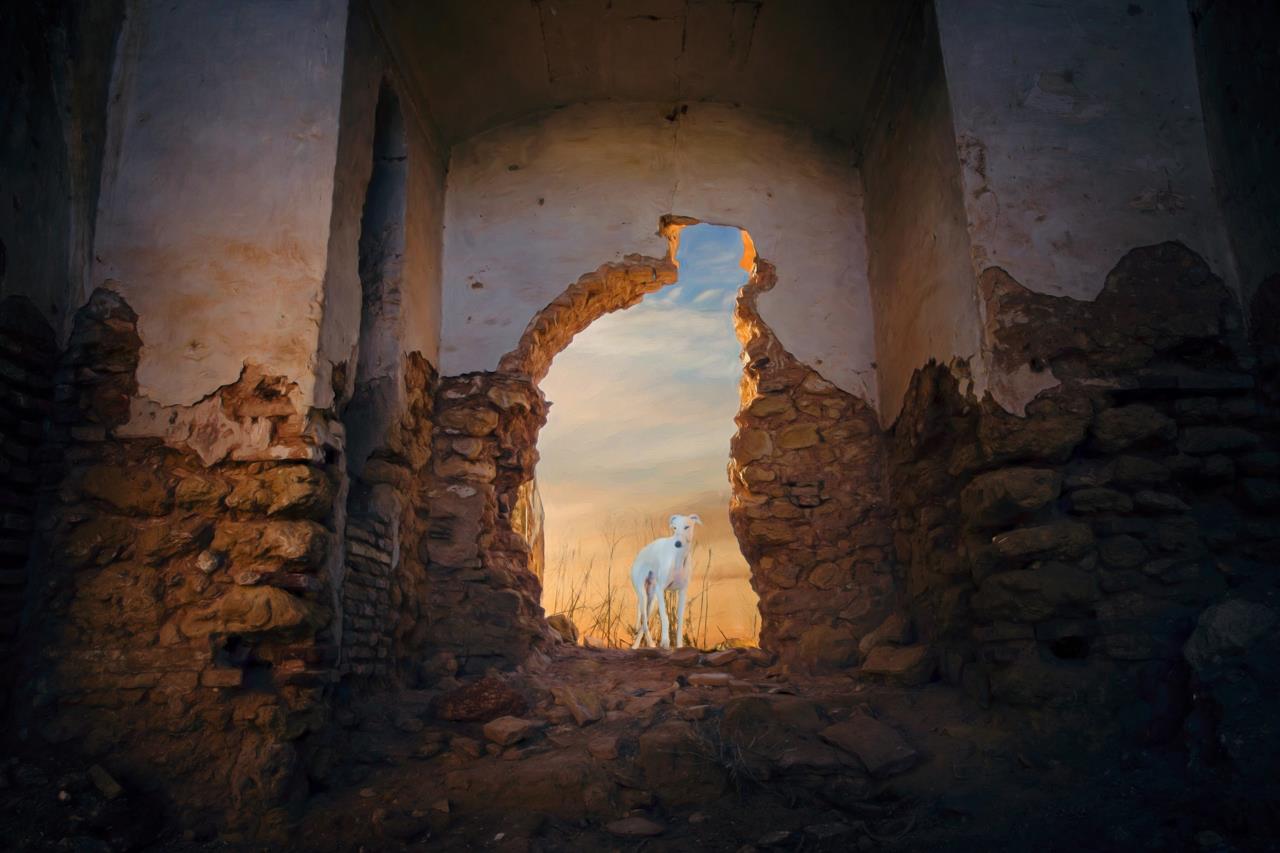
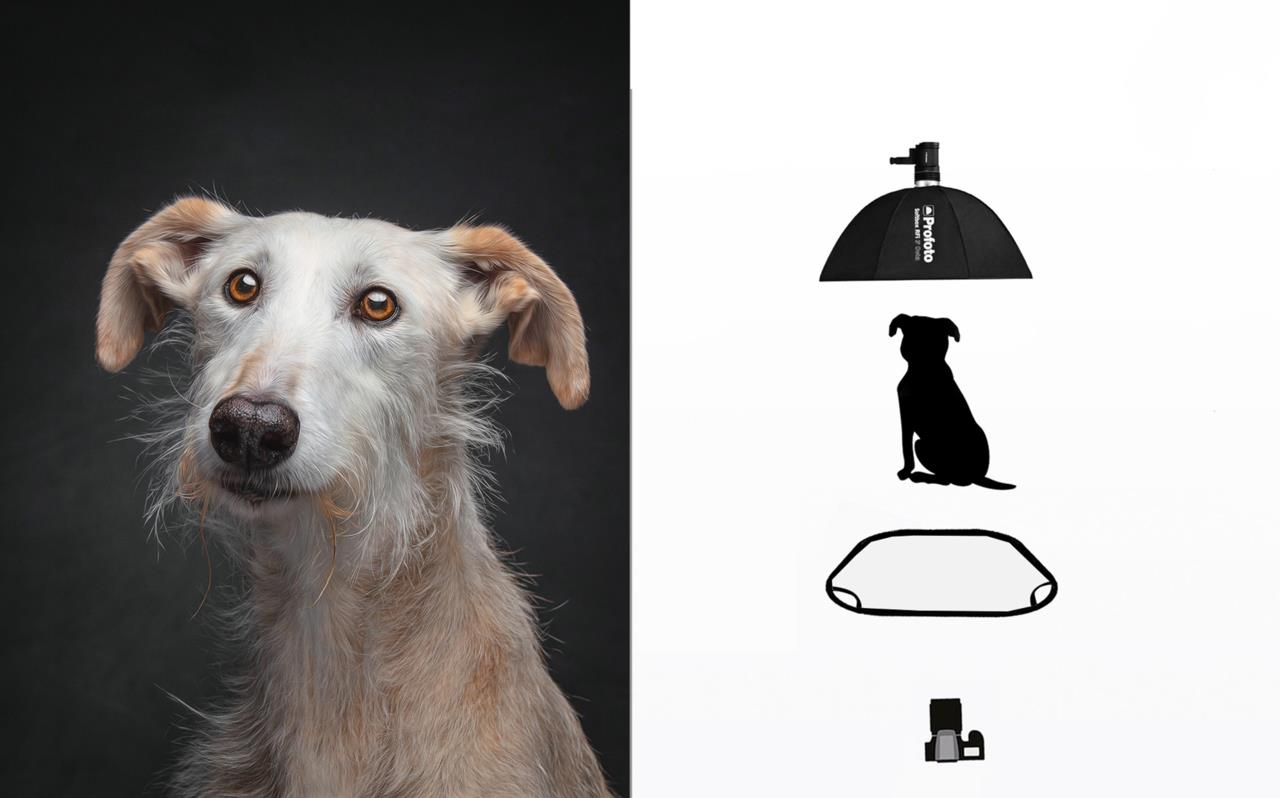
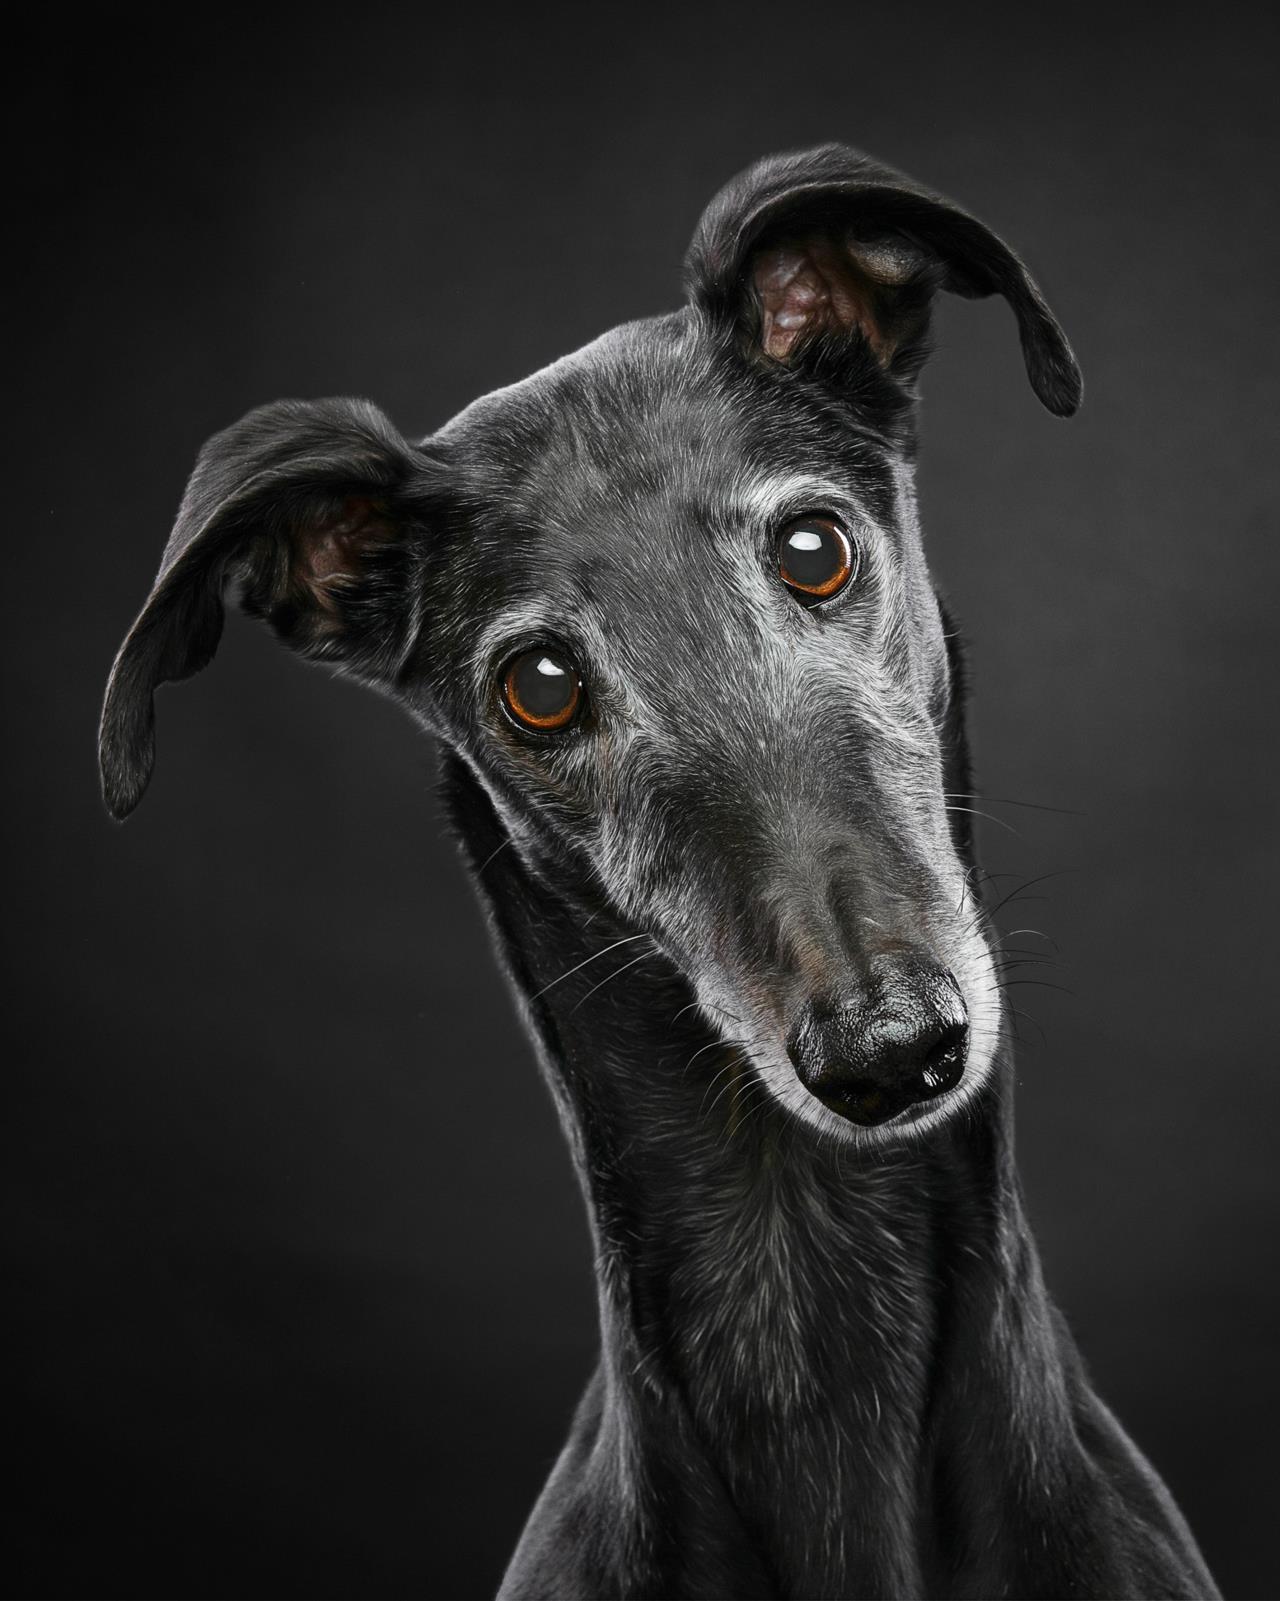
Image lit with an octa softbox, positioned camera left.
5. Use the right aperture
Find an F-stop that allows the camera to keep focus from the tip of the nose to the ears. For these photos my camera settings were ISO 200, F11, 1/200 sec.
6. Enhance your pet photography image with lighting
When it comes to lighting, it's important to have the right equipment to really enhance the dog's features. I often use a softbox (for the picture above the RFI Softbox 3’ Octa) that I add to the Profoto B10. Then I add a Collapsible Reflector as a fill light to remove the unwanted shadows on the dog's neck. For this image, I positioned the softbox above and in front of the dog, and placed the Collapsible Reflector in front, but below the dog. This lighting gives me an even and soft light on the dog.
7. Always make sure it's a fun experience
My final and most important tip; make the experience for the animal as fun and stress-free as you possibly can. If they have fun and enjoy the experience, they will happily model for you again. My dogs, when I bring them into my studio, happily jump on to the platform right away waiting for the treats and their portraits.
5 light setup. Main light: Umbrella with diffusion placed in front of and above the dog. Fill light: Large umbrella white placed behind the photographer. Two rim lights on each side created by strip softboxes with grids. One light behind to light up the background.
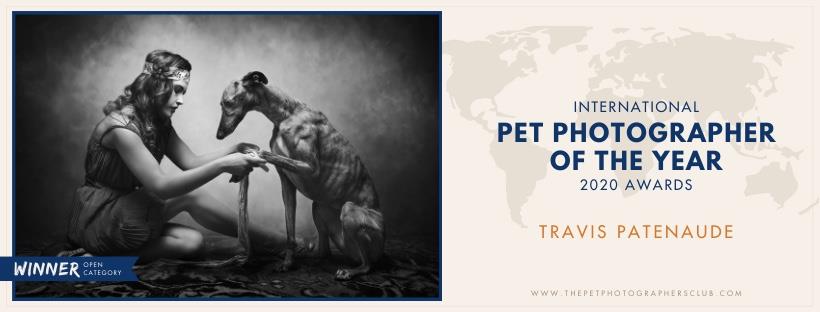
"In 2012 my wife and I were blessed to be rescued by a Galgo named Leena. This scared little white Galgo inspired my wife and I to start Love Hope Believe Galgo Adoption in 2013. Since then I have been working on my photography skills and taking photos of the Galgos during our trips to Spain" - Travis Patenaude.
For more info, check out https://www.stinkeyephotography.com/
Editor's Note: This post, "7 Tips For Taking Your Pet Photography to the Next Level" by Profoto & Travis Patenaude, originally appeared on Profoto's official website on September 10, 2020.

