I hope you all had time to check out my post from last week on photographing with natural light. This week, I'm sharing some tips for capturing beautiful interiors. I've been fortunate enough to photograph home and office tours for ELLE Decor and RUE Magazine since early August. This experience has definitely helped me grow as a lifestyle and interior photographer. Below are some of my personal techniques for capturing gorgeous spaces. First things first, it's so important to see the space you're hired to photograph. I always try to do a walk through or at least see photos of the space to get an idea of the lighting. Before you begin shooting your space, always make sure that all the lights are turned off—you want to avoid those warm yellow bulbs as much as possible. I also recommend photographing RAW because it will give you the most control when you're ready to edit the final images.
Always use a tripod for Photographing Interiors:
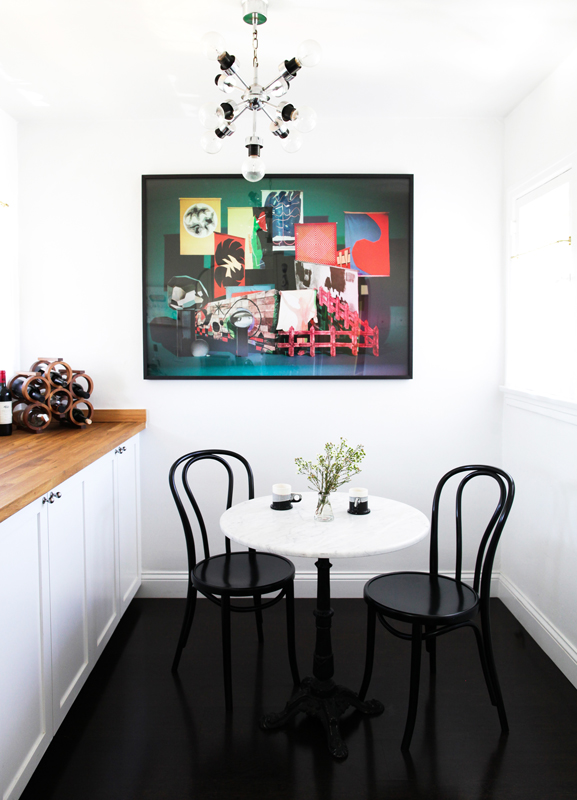
I highly recommend getting familiar with a tripod. When I first started photographing interiors and products, I absolutely hated using my tripod. I much preferred holding the camera and freestyling all the images. However, I've now noticed that the post-processing is much quicker when I took the time to photograph with a tripod because the images are properly lit, always straight, and sharp. Using a tripod really helps to avoid motion blur, so get familiar with your tripod! It really saves a lot of time! Being able to photograph in low light situations is amazing, and it's simple to do when you're working with a tripod. If I really have to, I can even go as low as 1/40th of a second without any blur.
Choose the right lens for you:
It's taken a lot of time and practice to really figure out what equipment works best for capturing interiors. I've played around with the 16-35mm f/2.8, the 24mm f/1.4L II, the 24-70mm f/2.8L, and the Canon 35mm f/1.4L.
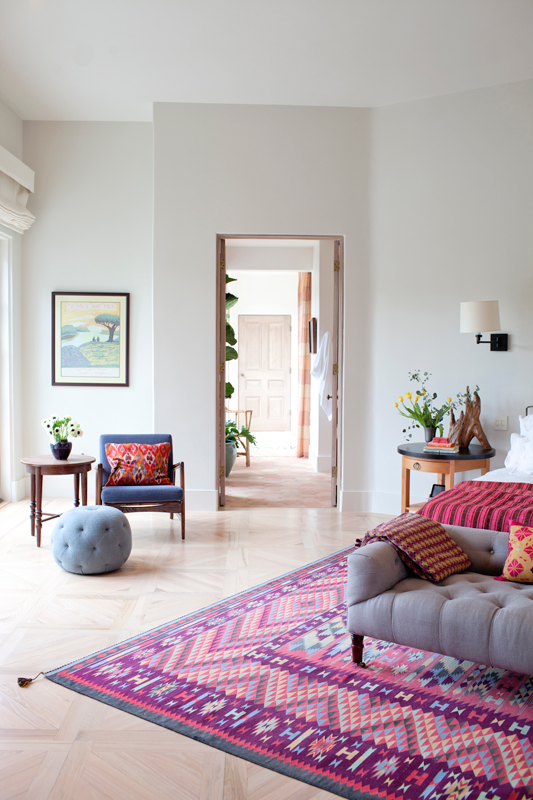
My personal preference for capturing interiors has been by far the fixed 24mm f/1.4 and the fixed 35mm f/1.4. I use the 24mm for very small spaces, which usually comes in handy when I'm trying to capture a small bakery or cafe.
The 24mm has also been extremely helpful for bathrooms and offices. These spaces tend to be much smaller, so it's important to capture as much of the space as possible.
I use the 35mm for everything else. This includes larger rooms such as the living room, the bedroom, restaurants, and large office spaces. The 35mm f/1.4 is my absolute favorite lens.
I'm able to capture full spaces and I'm also able to get much closer vignettes.
Some tips for styling the space:
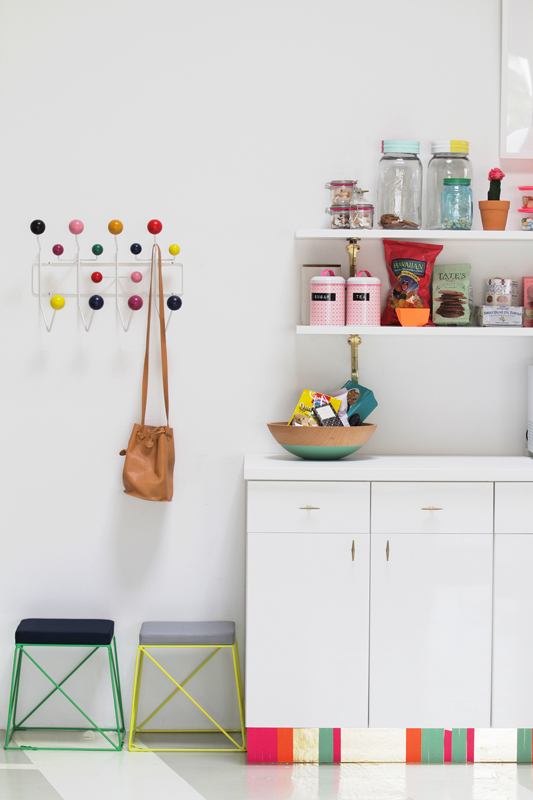
Styling the space that you are photographing is super important! It really makes a room look so much better. I'm lucky to work with incredible stylists and designers that help make a space perfect. If you don't have anyone to help with styling, I would highly recommend taking your time photographing each room.
Take 10 or 15 minutes before you start photographing a room to walk around and make sure nothing unwanted is on the tables. Take the remote control out of the shot and unplug electrical cords from the outlets - I cannot tell you how many times this has happened to me and it's such a pain to remove in photoshop afterward! I also recommend moving pieces around and playing with colors. It's very rare that I will leave everything in its exact spot when I'm styling myself.
Playing with Aperture when photographing interiors:
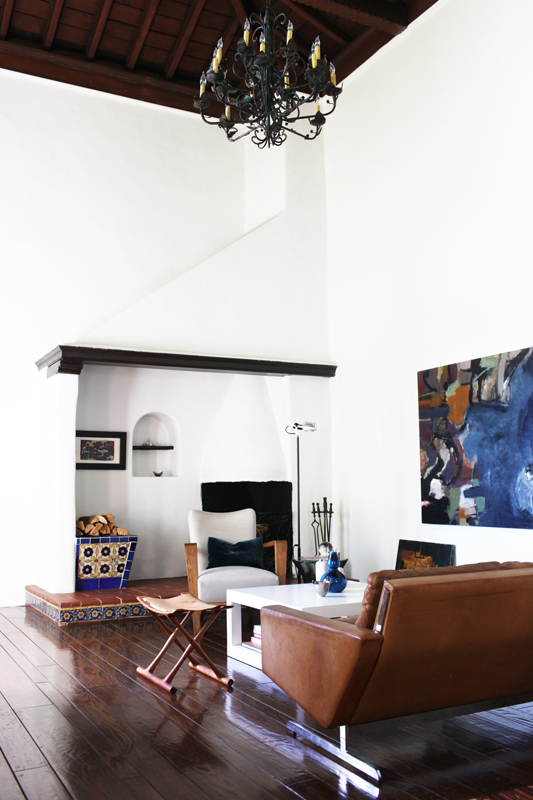
You should always try to avoid photographing with a low aperture when you're trying to capture beautiful interiors. What I love the most about interior photography and wide open spaces, is seeing everything in sharp focus. To achieve this, you must photograph at a high aperture. If you're trying to capture a close-up or vignette and you want the background to be blurred, then you would shoot with a much wider aperture.
Shooting tethered:
Shooting tethered has changed my life! It basically means that your camera is attached to a cord that is plugged into an external screen or laptop, and your photos go to that screen instead of the back of your LCD screen. This is so helpful when you're working with a full team of people that want to see what each image looks like. It really helps to put everything into focus, and it gives you a bigger picture than your camera's 3" LCD screen.
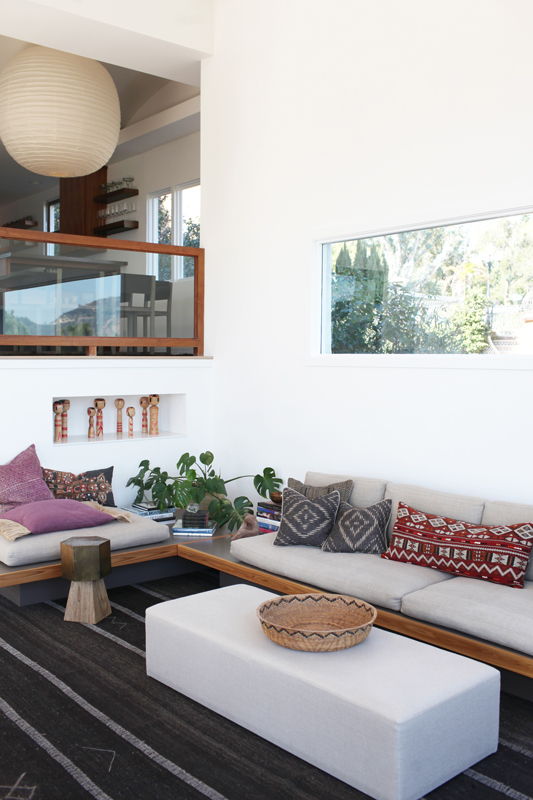
In order to shoot tethered, you need programs such as Lightroom and Capture One. You will also need a USB cord that goes from your camera to the screen outlet. I would highly recommend getting the 15ft cord because it allows more room to move around. All of these items can, of course, be purchased from Samy's or Phototools!
I hope you'll take the time to practice some of these simple tips. Always remember that practice makes perfect, so if photographing interiors is something you'd like to pursue professionally, you simply have to get out there and do it!
 I highly recommend getting familiar with a tripod. When I first started photographing interiors and products, I absolutely hated using my tripod. I much preferred holding the camera and freestyling all the images. However, I've now noticed that the post-processing is much quicker when I took the time to photograph with a tripod because the images are properly lit, always straight, and sharp. Using a tripod really helps to avoid motion blur, so get familiar with your tripod! It really saves a lot of time! Being able to photograph in low light situations is amazing, and it's simple to do when you're working with a tripod. If I really have to, I can even go as low as 1/40th of a second without any blur.
Choose the right lens for you:
It's taken a lot of time and practice to really figure out what equipment works best for capturing interiors. I've played around with the 16-35mm f/2.8, the 24mm f/1.4L II, the 24-70mm f/2.8L, and the Canon 35mm f/1.4L.
 My personal preference for capturing interiors has been by far the fixed 24mm f/1.4 and the fixed 35mm f/1.4. I use the 24mm for very small spaces, which usually comes in handy when I'm trying to capture a small bakery or cafe.
The 24mm has also been extremely helpful for bathrooms and offices. These spaces tend to be much smaller, so it's important to capture as much of the space as possible.
I use the 35mm for everything else. This includes larger rooms such as the living room, the bedroom, restaurants, and large office spaces. The 35mm f/1.4 is my absolute favorite lens.
I'm able to capture full spaces and I'm also able to get much closer vignettes.
Some tips for styling the space:
 Styling the space that you are photographing is super important! It really makes a room look so much better. I'm lucky to work with incredible stylists and designers that help make a space perfect. If you don't have anyone to help with styling, I would highly recommend taking your time photographing each room.
Take 10 or 15 minutes before you start photographing a room to walk around and make sure nothing unwanted is on the tables. Take the remote control out of the shot and unplug electrical cords from the outlets - I cannot tell you how many times this has happened to me and it's such a pain to remove in photoshop afterward! I also recommend moving pieces around and playing with colors. It's very rare that I will leave everything in its exact spot when I'm styling myself.
Playing with Aperture when photographing interiors:
 You should always try to avoid photographing with a low aperture when you're trying to capture beautiful interiors. What I love the most about interior photography and wide open spaces, is seeing everything in sharp focus. To achieve this, you must photograph at a high aperture. If you're trying to capture a close-up or vignette and you want the background to be blurred, then you would shoot with a much wider aperture.
Shooting tethered:
Shooting tethered has changed my life! It basically means that your camera is attached to a cord that is plugged into an external screen or laptop, and your photos go to that screen instead of the back of your LCD screen. This is so helpful when you're working with a full team of people that want to see what each image looks like. It really helps to put everything into focus, and it gives you a bigger picture than your camera's 3" LCD screen.
 In order to shoot tethered, you need programs such as Lightroom and Capture One. You will also need a USB cord that goes from your camera to the screen outlet. I would highly recommend getting the 15ft cord because it allows more room to move around. All of these items can, of course, be purchased from Samy's or Phototools!
I hope you'll take the time to practice some of these simple tips. Always remember that practice makes perfect, so if photographing interiors is something you'd like to pursue professionally, you simply have to get out there and do it!

